Near Field Communication (NFC) technology is quietly transforming how businesses and individuals share information. Most people see them as just tiny chips, but when programmed correctly, NFC tags become powerful tools for business, networking, and everyday life.
Programming an NFC tag is simpler than it sounds. With the right device and app, you can write actions like opening a website, sharing Wi-Fi credentials, or saving contact details, all in just a few taps. Once programmed, a tag can instantly perform that action every time it’s scanned.
At TapiLink, we’ve taken NFC technology to the next level with our fully customizable digital business cards. They let you share your entire profile, capture leads, and even integrate with CRMs like HubSpot or Salesforce, all with a single tap
Why It is Necessary to Program NFC Tags?
An NFC tag is essentially blank until it’s programmed. Programming gives it purpose, enabling real-world applications in personal convenience, business, security, and payments.
1. Personalization of Tasks
Programming lets you assign actions like auto-connecting Wi-Fi, sharing contacts, or launching apps. For instance, a home office tag can instantly enable Wi-Fi, mute calls, and open productivity tools.
2. Business and Marketing Applications
Retailers and marketers program tags on posters, packaging, or business cards to link directly to websites, Google Reviews, or promotions. This offers instant customer engagement and trackable, interactive campaigns.
3. Enhanced User Convenience
Instead of entering details manually, users can tap a tag to connect to Wi-Fi, open maps, or dial numbers. Programmed tags streamline repetitive tasks into single-step actions.
4. Security and Access Control
NFC tags power secure entry systems, like hotel keys or office badges. Programmed with encrypted credentials, they ensure only authorized users can unlock doors or access sensitive systems.
5. Payment and Loyalty Systems
Programmed NFC tags trigger wallet apps or loyalty programs. They don’t store card numbers, but launch secure, tokenized payment flows, like tapping your phone for subway rides or coffee shop rewards.
Essential Tools You Need for NFC Programming
Before you can start writing your own NFC apps or even experimenting with tags, you’ll need the right set of tools.
| Tool | Description |
| NFC-enabled Reader/Writer (Hardware) | A dedicated USB or desktop NFC reader to test and program tags |
| NFC Tags | Blank NFC chips in the form of stickers, cards, or keychains. |
| NFC-capable Phone | Modern Android phones and iPhones (7 and later) can read NFC |
| NFC Tag Writer App | Beginner-friendly apps like NFC Tools or NXP TagWriter let you quickly write text, URLs, and numbers without coding |
| SDKs and Libraries | Developer toolkits that let you programmatically read/write NFC tags in apps. |
| Development Environment | IDEs like Android Studio (for Kotlin/Java) or Xcode (for Swift/Objective-C) |
How to Program an NFC Tag for Payments?
NFC payment tags work as secure triggers that connect to your payment app or service – they never store actual payment data.
When tapped, they launch your payment flow through encrypted tokens and secure backend connections.
Here’s a step-by-step guide to get started:
Step 1: Prepare Your NFC-Enabled Device
Before you get started, make sure your phone or development device supports NFC and has it enabled in settings. For this,
Install the necessary tools:
1. For quick tests → an app like NFC Tools Pro.
2. For full development → Android Studio (Kotlin) or Xcode (Swift).
Note: In case you’re working with POS terminals, have a test setup ready (Square, Verifone, or simulator tools).
Step 2: Select the Right NFC Tag
Not all NFC tags are created equal. For payment triggers, you must choose the right tags.
Recommended tag specifications you can look for:
1. Always use NFC Type 4 tags – they support ISO/IEC 14443-4 standard
2. Look for tags with anti-cloning features like SUN (Secure Unique NFC Message)
3. Choose tags with at least 4KB memory capacity for encrypted payloads
4. Verify the tag supports secure sessions and encrypted communication
Tags to Avoid:
1. Basic NTAG213 or Type 2 tags (insufficient security for payments)
2. Unbranded or suspiciously cheap tags from unknown suppliers
3. Tags without proper authentication mechanisms
Tips: Order from trusted suppliers so the chips are authentic and not pre-programmed.
Step 3: Integrate with a Payment Processing Service
An NFC tag does not hold card data. Instead, it stores a reference or token. When tapped, your app or POS system uses that token to trigger a payment through your backend.
Google Pay Integration:
On Android devices, you can integrate with Google Pay using Host-based Card Emulation (HCE). Your NFC tag launches your app with a token, and Google Pay handles the secure payment processing through their established infrastructure.
Apple Pay Limitations:
Apple Pay uses the iPhone’s built-in Secure Element, which third-party apps can’t directly control. Instead, create app-based payment flows that launch when users tap your NFC tag, then handle payments through your own secure system.
For custom apps, set up a backend system that verifies tokens, authorizes payments, and logs transactions.
Step 4: Program the Tag
Use your app or an NFC writer tool to encode the secure payload:
1. Typically, a dynamic URL (e.g., yourapp.com/pay?id=token123).
2. Or an app-launch instruction that triggers your payment flow.
Always encrypt or obfuscate identifiers and never write raw sensitive info.
On certain secure tags, use SUN messages to prevent cloning.
Step 5: Test for Security & Speed
A good payment experience must be safe and instant. Test that as below:
1.. The tap launches your payment app or POS reliably.
2. The token is decrypted and validated correctly.
3. Your server authorizes and completes the payment.
4. The tag resists replay attacks (no duplicate transactions from one tap).
5. The full process completes in under 1 second.
You can utilize the tools for testing:
1. NFC Tools Pro (mobile testing).
2. Square Reader SDK or Verifone test mode (POS simulation).
3. Backend logging for the entire token lifecycle.
Step 6: Optimize User Experience
A secure backend is not enough. Payments must feel effortless. Aim for a single tap to complete transactions and provide instant feedback like “Payment Successful” or “Failed”. Ensure any web pages are mobile-friendly and HTTPS-secured. Enhance loyalty apps by instantly showing rewards or perks after each payment, boosting user satisfaction.
Programming NFC Tags on Android vs iOS
When you are programming NFC tags, your experience will differ depending on whether you’re using an Android device or an iPhone.
Both platforms let you work with NFC, but they have different levels of flexibility, features, and developer support. Here’s how they compare.
Programming NFC Tags on Android
Process 1➜Without Coding
If you just want simple functionality, you can use apps like NFC Tools or NXP TagWriter. With these apps, you can:
1. Write a URL, contact info, or Wi-Fi credentials onto a tag.
2. Automate phone actions like turning on Bluetooth or opening Spotify.
3. Erase or reprogram tags anytime.
This method is perfect for everyday users who want quick results.
Process 2 ➜ With Coding
But if you’re a developer and want more security, scalability, and flexibility, you’ll want to go beyond apps and program NFC tags directly in code. Below, let’s walk through how to do this on Android using Kotlin.
Step 1: Set Up a New Project
1. Open Android Studio and create a new Kotlin project.
2. Make sure your min SDK version is 10 (Gingerbread) or higher, since NFC support starts there.
Step 2: Declare NFC Permissions
In your AndroidManifest.xml, add the required NFC permissions:
| Xml<uses-permission android:name=”android.permission.NFC” /> |
If you want your app to install only on devices with NFC hardware, add this:
| Xml <uses-feature android:name=”android.hardware.nfc” android:required=”true” /> |
If NFC is optional, omit the <uses-feature> line and check availability at runtime.
Step 3: Enable Foreground Dispatch
Foreground dispatch ensures that when a tag is scanned, your app handles the event before others. Add this to your activity:
| Kotlin
val intent = Intent(this, javaClass).addFlags(Intent.FLAG_ACTIVITY_SINGLE_TOP) nfcAdapter.enableForegroundDispatch(this, pendingIntent, filters, null) |
Step 4: Handle the NFC Tag
Override the onNewIntent() method to process tags when they are detected:
| Kotlin
override fun onNewIntent(intent: Intent) { if (ndef != null) { |
This example writes a simple text record: “Hello NFC!”.
Step 5: Deploy & Test
1. Install the app on your NFC-enabled Android device.
2. Run the app and bring your phone near a blank NFC tag.
3. The tag should now contain your message.
4. Test by tapping the tag again → it should trigger the stored action.
Programming NFC Tags on iOS with Code (Swift + Core NFC)
Step 1: Set Up Your Development Environment
Unlike Android, Apple puts stricter rules around NFC. To write NFC tags with an iPhone, you’ll need:
1. An iPhone that supports NFC writing (iPhone XS or newer, running iOS 13 or later).
2. Xcode is installed on your Mac to build and run your app.
3. Blank NFC tags – preferably NTAG213, NTAG215, or NTAG216, since iOS support these.
Step 2: Add Entitlements in Info.plist
To access NFC, you must do these two things:
1. Add Capability: In your project’s Signing & Capabilities tab, click + Capability and add Near Field Communication Tag Reading.
2. Add Usage Description: In your Info.plist file, add a new key called NFCReaderUsageDescription. Provide a value explaining why your app needs NFC
| Xml
<key>com.apple.developer.nfc.readersession.formats</key> |
This ensures your app can start NFC sessions and also shows the user why NFC is needed. Without it, your app will be rejected on the App Store.
Step 3: Create an NFC Writer Class
Define a class that handles scanning, detecting, and writing to tags.
| Swift
import CoreNFC class NFCWriter: NSObject, NFCNDEFReaderSessionDelegate { |
Here’s what’s happening:
1. beginSession() → Starts the NFC session and shows Apple’s system scanning prompt.
2. didDetect → When a tag is detected, connect and prepare to write.
3. writeNDEF → Writes a simple text payload: “Hello from iOS!”.
4. Success/failure → The session ends with appropriate messages.
Step 4: Trigger Session from Your UI
Since NFC actions must be user-triggered, call the writer when a button is tapped:
| Swift
import UIKit |
Now, when a user taps the button, the NFC scan starts, and they can hold their iPhone near the tag to write the message.
Step 5: Test Your App
1. Build and run your app on a real device (not the simulator).
2. Tap the Write Tag button.
3. Hold your iPhone near the NFC tag.
4. If successful, you’ll see “Write success!” and the tag will contain your payload.
Popular Things You Can Program Into NFC Tags
NFC tags are versatile tools that make everyday tasks simpler and faster. With just a little programming, you can turn a blank tag into something practical and useful.
1. Open a Website (URL)
You can program a tag to launch any website instantly. Businesses often use this to direct customers to an online store, booking page, or social media profile with a single tap.
2. Share Wi-Fi Details
Typing Wi-Fi passwords is tedious and error-prone. A programmed tag can let visitors connect to your network instantly, which is especially convenient in cafés, offices, or at home.
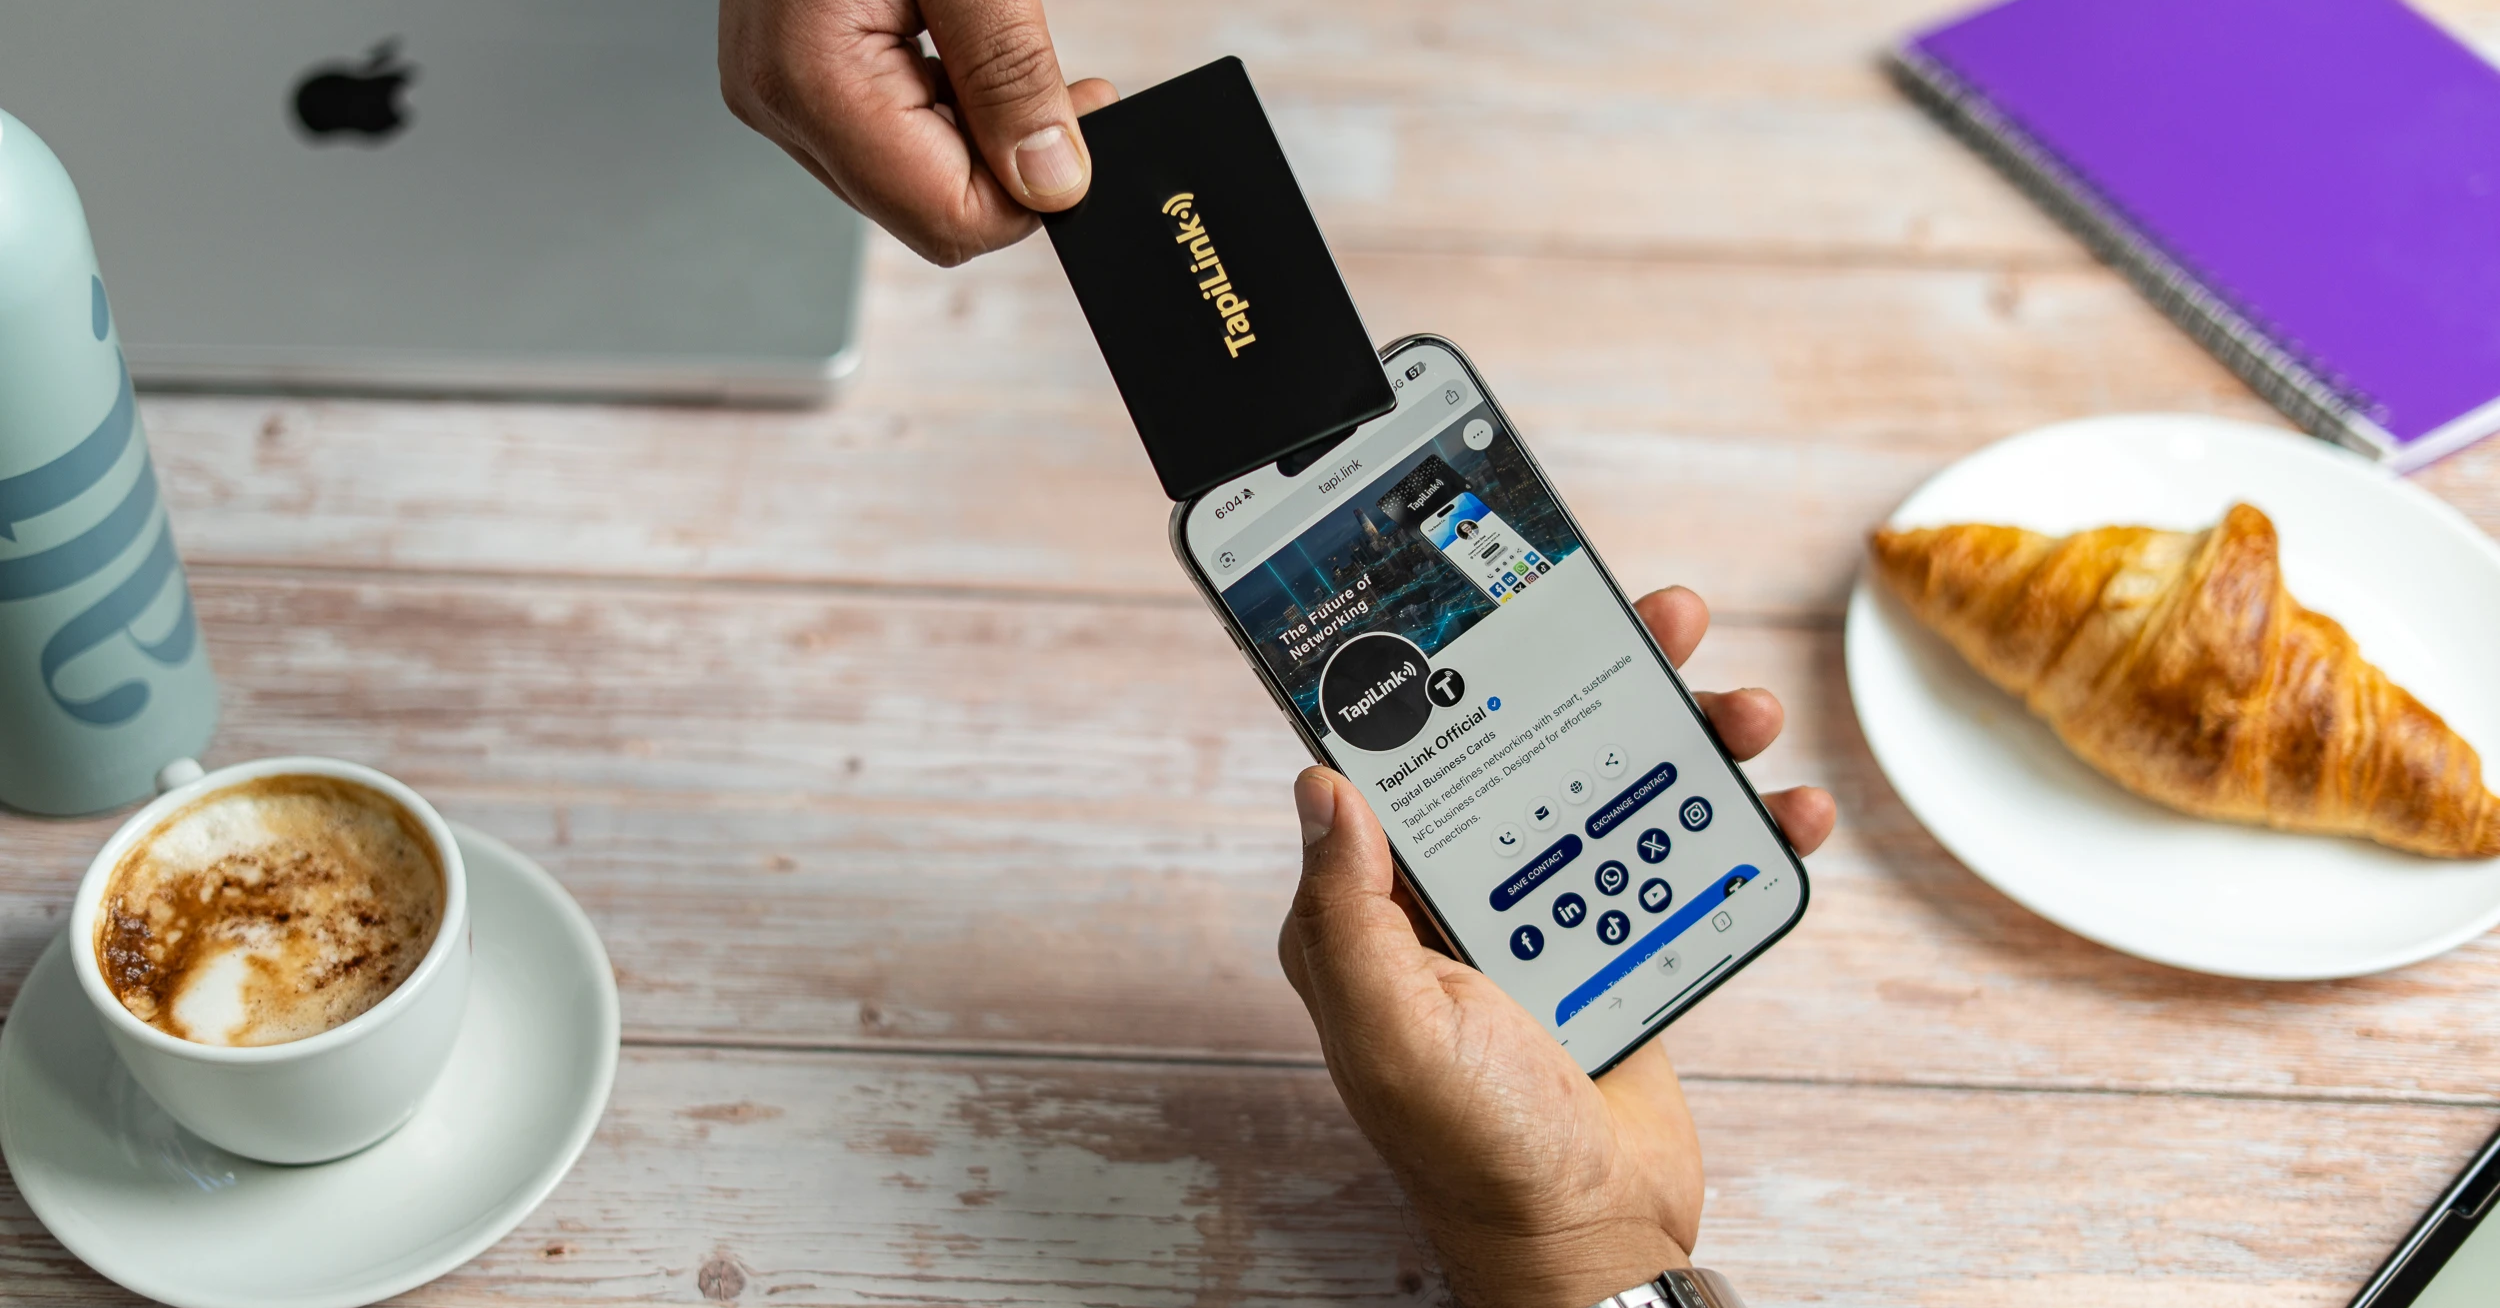
3. Digital Business Card
Instead of handing out paper cards, store your contact information on a tag. When tapped, it saves directly into a phone’s contacts, professional, eco-friendly, and always accessible.
4. Phone Number (Tap to Call)
A tag can be programmed with your phone number so people can call you immediately. This is useful for customer support counters, signage, or quick service inquiries.
5. Address (Tap to Open Maps)
Program a tag with your location, and tapping it opens navigation apps like Google Maps. Ideal for offices, stores, or event venues where directions matter.
6. Custom Text
You can store plain text on an NFC tag, such as instructions, notes, or identifiers. This is useful for labeling equipment, providing quick information, or sharing simple messages.
Troubleshooting Common NFC Programming Issues
Programming NFC tags is usually simple, but you may occasionally run into problems. If you’re struggling, here are some of the most common issues you might face and how you can fix them.
1. Tag Not Detected by Your Phone
Sometimes your phone won’t recognize the tag because the NFC antenna isn’t lined up. Move your phone slowly over the tag and make sure NFC is enabled in settings.
2. iPhone Only Reads First Record
If you’re using an iPhone, it will only read the first record on a tag. Place your most important record at the top or use an app for multi-record support.
3. Tag Memory Too Small
When programming, you may see errors if the data exceeds the tag’s storage. To fix this, shorten your content or use a higher-capacity tag like NTAG215 or NTAG216.
4. Tag Already Locked or Secured
If you can’t rewrite a tag, it may be locked or password-protected. You’ll need the password to unlock it. Avoid permanent locks unless you’re certain the data won’t change.
5. Inconsistent Read Range
If you find you have to tap repeatedly, your tag’s antenna might be too small. Use larger tags for a stronger read range and align them properly with your phone’s NFC reader.
NFC Programming Limitations You Should Know
1. iPhones can only read the first record on a tag.
2. Some record types (like vCard or text) aren’t natively supported on iOS.
3. Tags have limited memory, so large data sets may not fit.
4. Permanently locked tags cannot be rewritten once secured.
5. Read range is very short (typically 0–20mm), requiring precise placement.
Not all NFC apps support every record type or function.
In Closing
NFC tags may be small, but their potential is immense. From automating simple tasks to enabling secure payments and powering digital business cards, programming them opens endless possibilities for personal convenience and professional growth.
With just a phone and the right tools, anyone can harness NFC technology to simplify connections and create memorable experiences.
Ready to experience NFC at its best? Discover TapiLink’s NFC digital business cards, customizable, eco-friendly, and built to help you connect smarter in just one tap.
Frequently Asked Questions
Question: Do NFC tags need batteries or charging?
Answer: No, NFC tags are passive devices. They draw tiny amounts of power from the smartphone or reader during a scan, which means they never need charging.
Question: Can NFC tags work without an internet connection?
Answer: Yes, NFC tags can trigger offline actions like opening apps or saving contacts. However, actions that require online access, such as opening a website, will need internet.
Question: How long do NFC tags last?
Answer: Most NFC tags are rewritable up to 100,000 times and can last 10 years or more. Once locked, the data remains permanently stored until the chip physically wears out.
Question: Are NFC tags safe to use for personal data?
Answer: Yes, NFC tags are safe if used correctly. Never store sensitive information like card numbers. Instead, store tokens, links, or references that connect securely to a server.
Ready to revolutionize your networking approach? Explore TapiLink's range of premium NFC business cards and join the thousands of professionals who've already made the smart choice.