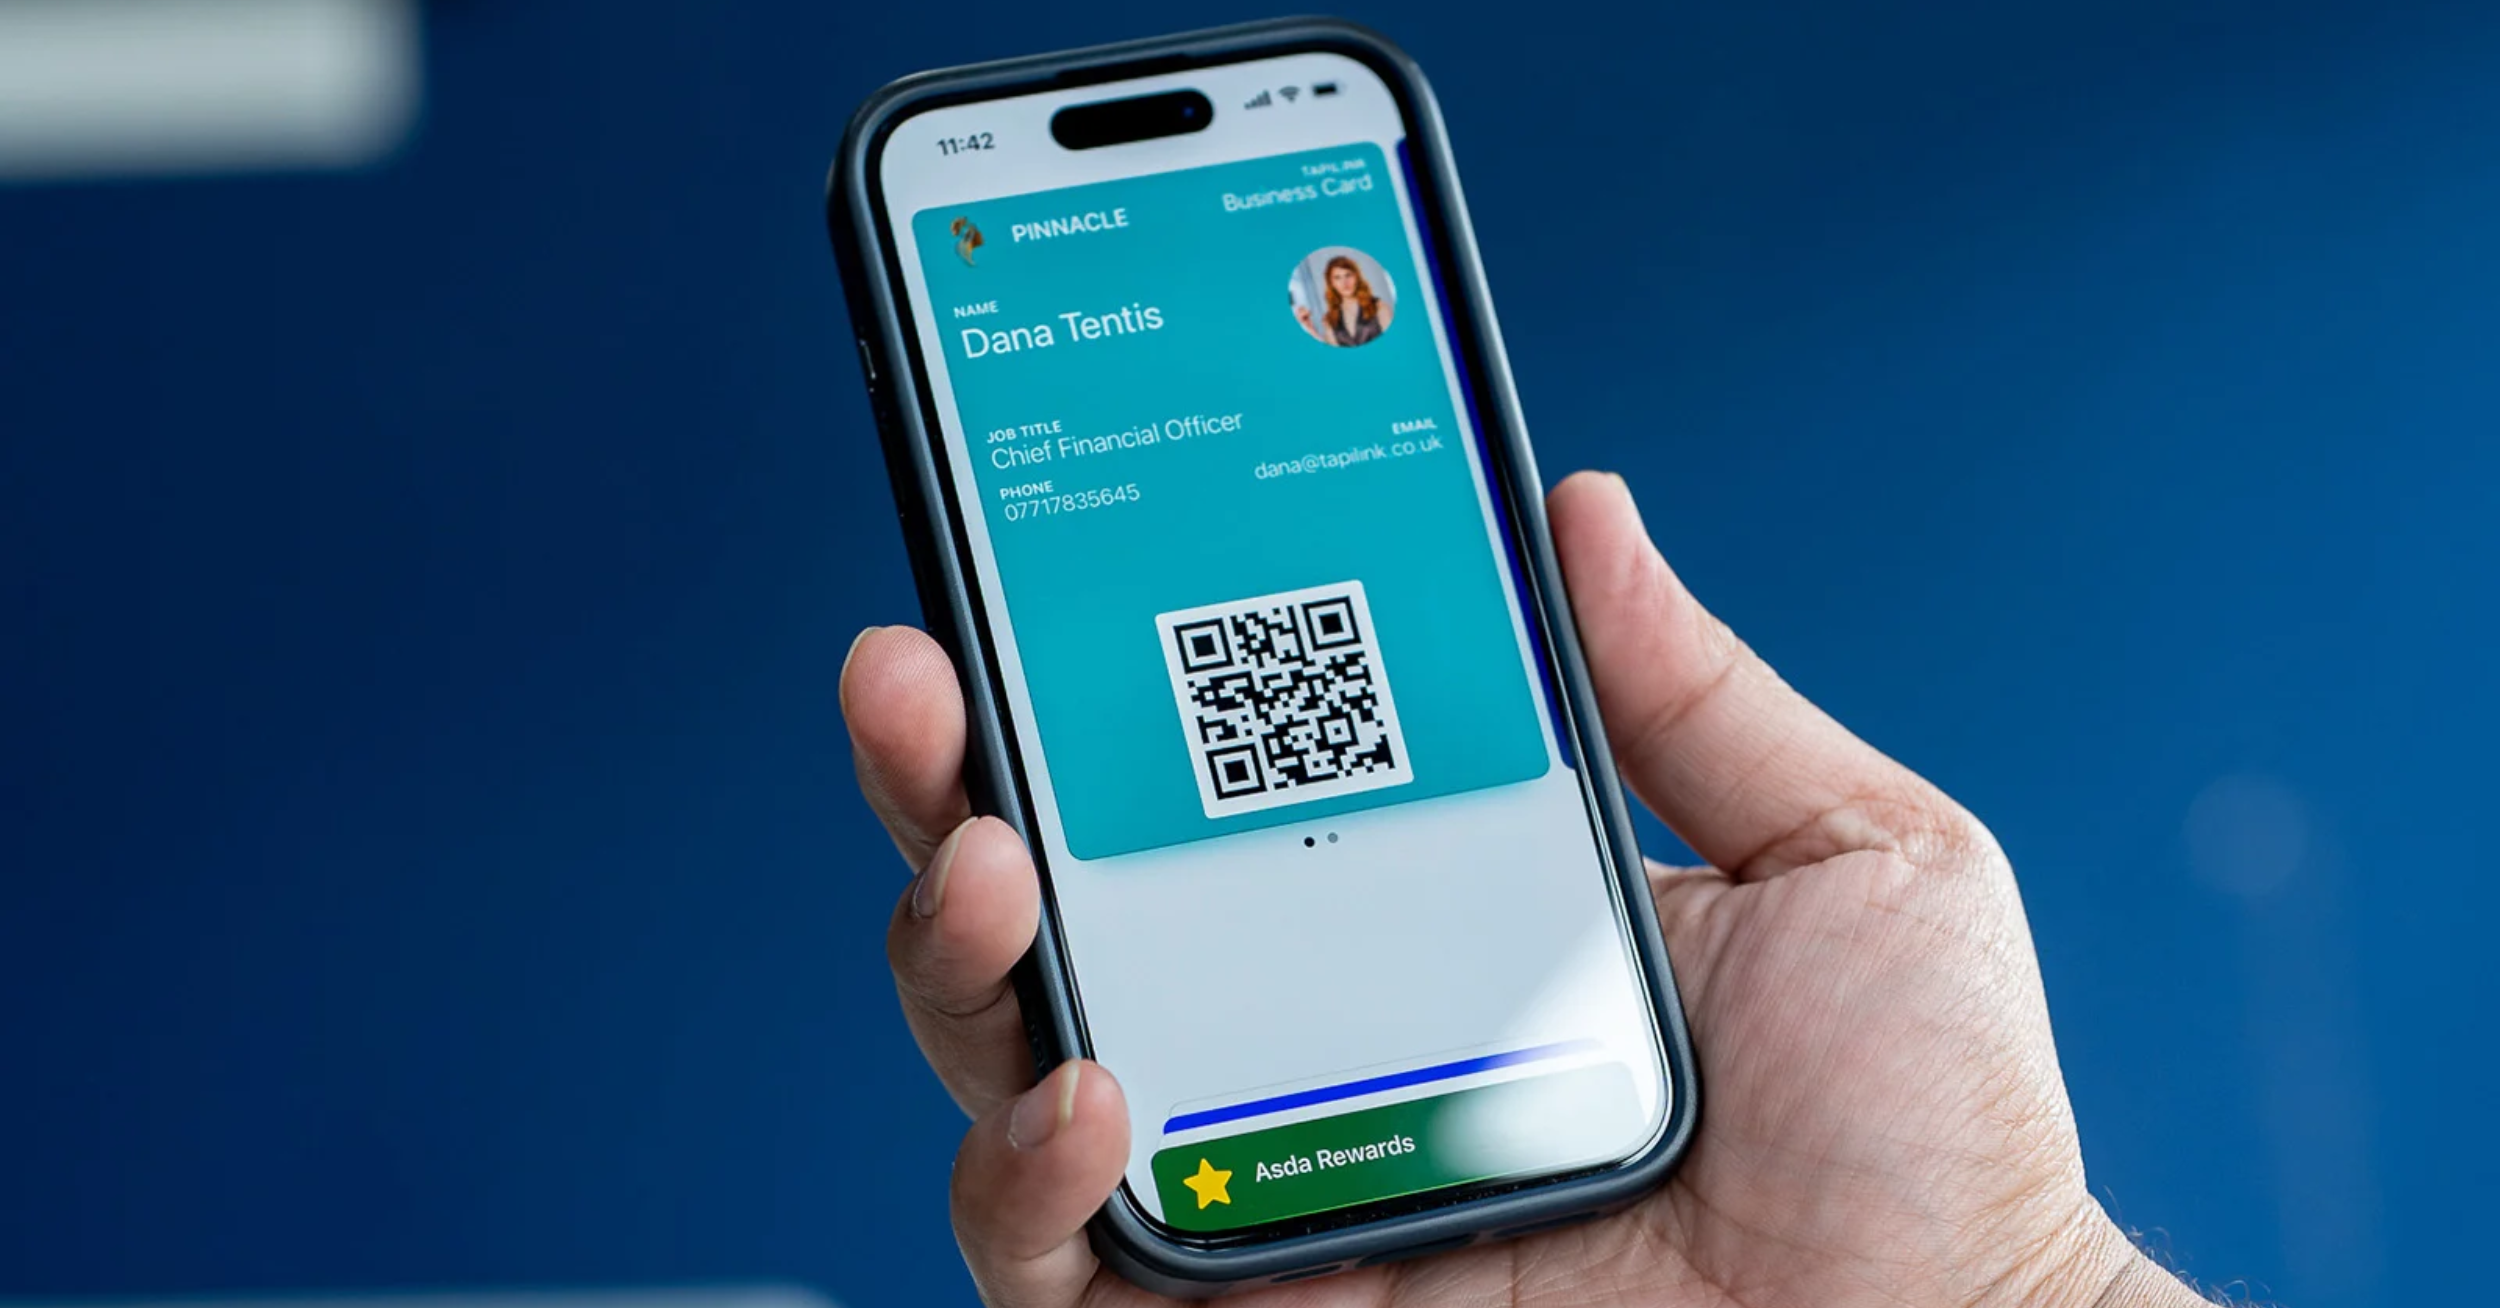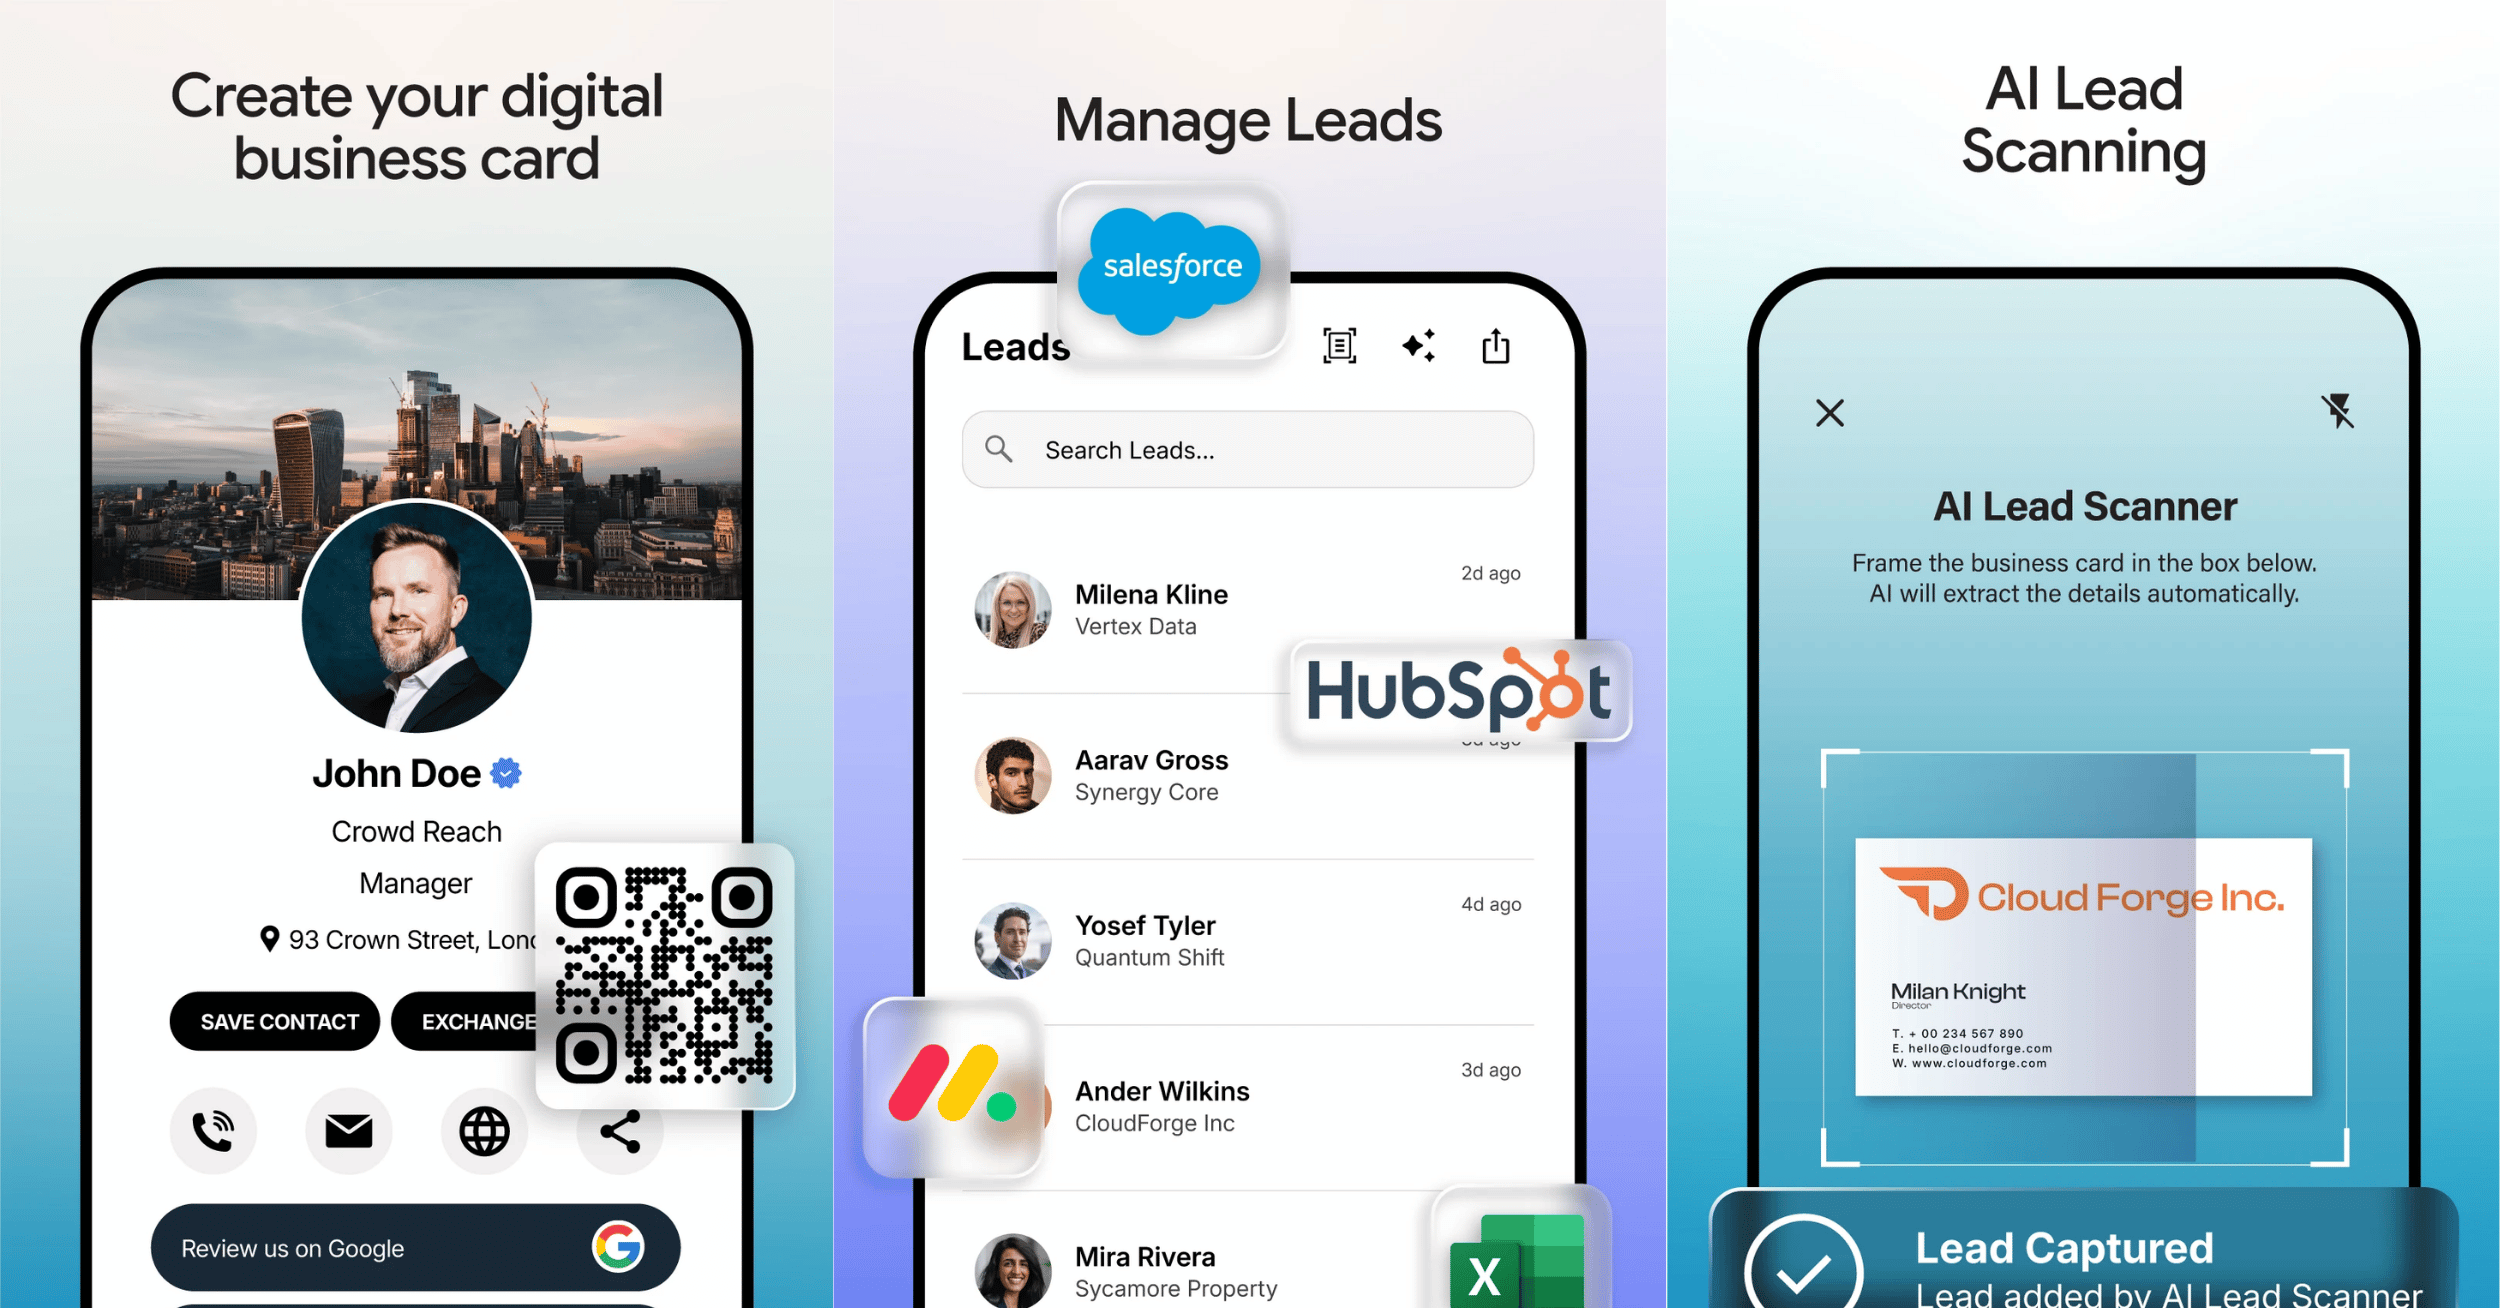
Creating a digital business card in the TapiLink app takes just a few minutes: open Setup Profile, choose your appearance, add your general info, then build it out with your logo, links and photos. When you are done, the card is ready to share by tap, QR code, wallet or link, and it updates whenever your details change. There is no design skill needed, because the app guides you through each part.
At TapiLink, we built the card maker so anyone can create a professional card that represents their personal or company brand. This guide walks through each part in order, following the sections in the app, so you can build your card as you read. If you have not set the app up yet, our guide on how to set up the TapiLink app covers the first steps, then come back here to build your card.
What can you add to a digital business card?
A digital business card in the app can hold far more than a paper card ever could. You can customise it with your logo, colours, fonts, contact information, social media links, images, videos, brochures, websites, payment links and more.
That range is the point of going digital. Instead of a fixed slip of card with a name and number, you build a living profile that can point people to everything you want them to see or do. The sections below show how to add each part, so you can include as much or as little as suits you.
Step 1: Open Setup Profile
Start by opening Setup Profile from the Quick Actions on your Home screen. This is where every part of your card lives, laid out as separate sections you can work through in any order.
Inside you will find Appearance, General Info, Social Links, Review Links, Custom Links, Photos and more. You do not have to complete them all at once, and the app shows a Complete Your Profile progress bar so you can see what is left. Getting familiar with this menu is the key to building your card, because everything you add happens here.
Step 2: Choose your appearance
Open Appearance to select your profile style. This sets the overall look of your card, so it reflects your brand from the first glance.
It is worth setting this early, because it frames everything else you add. Pick the style that best matches how you want to present yourself, and remember you can return and change it at any time as your brand evolves.
Step 3: Add your general info and branding
Open General Info to add your core details, such as your name, role and contact information. This is the essential information people receive when they view or save your card, so make sure it is accurate.
This is also where your branding comes together, with your logo, colours and fonts applied to the card. Because the card is digital, all of this stays editable, so you can update a job title, a number or a look whenever you need to, and your card is instantly current. That is a real advantage over paper, where any change means a reprint.
Step 4: Add your social links
Open Social Links to connect your social media profiles. Each one you add appears on your card, so a single tap or scan can take someone straight to the profile you want them to see.
This is a simple way to make your card do more work. Rather than reading out handles, you let people reach your channels instantly. Add the platforms that matter most for your work, and leave off any you would rather not share.
Step 5: Add review and custom links
Open Review Links to add the places you want people to leave reviews, then open Custom Links to add anything else, such as your website, a booking page, a portfolio or a payment link. Both turn your card into more than a contact swap, guiding people to the action you care about.
Review Links are useful if feedback matters to your business, and custom links let your card drive bookings, sales or sign-ups. If collecting reviews is a priority, our NFC Review Cards work alongside your profile to make asking in person effortless. Adding these links is what turns a basic card into a create smart card experience that actually moves people to act.
Step 6: Add your photos
Open Photos to add or manage images that showcase your work, products or brand. A gallery gives your card a visual dimension that a paper card simply cannot offer.
Photos are especially valuable for visual professions, where showing your work says more than describing it. Choose images that represent you well, and keep them current so your card always reflects your latest work.
Step 7: Preview and share your card
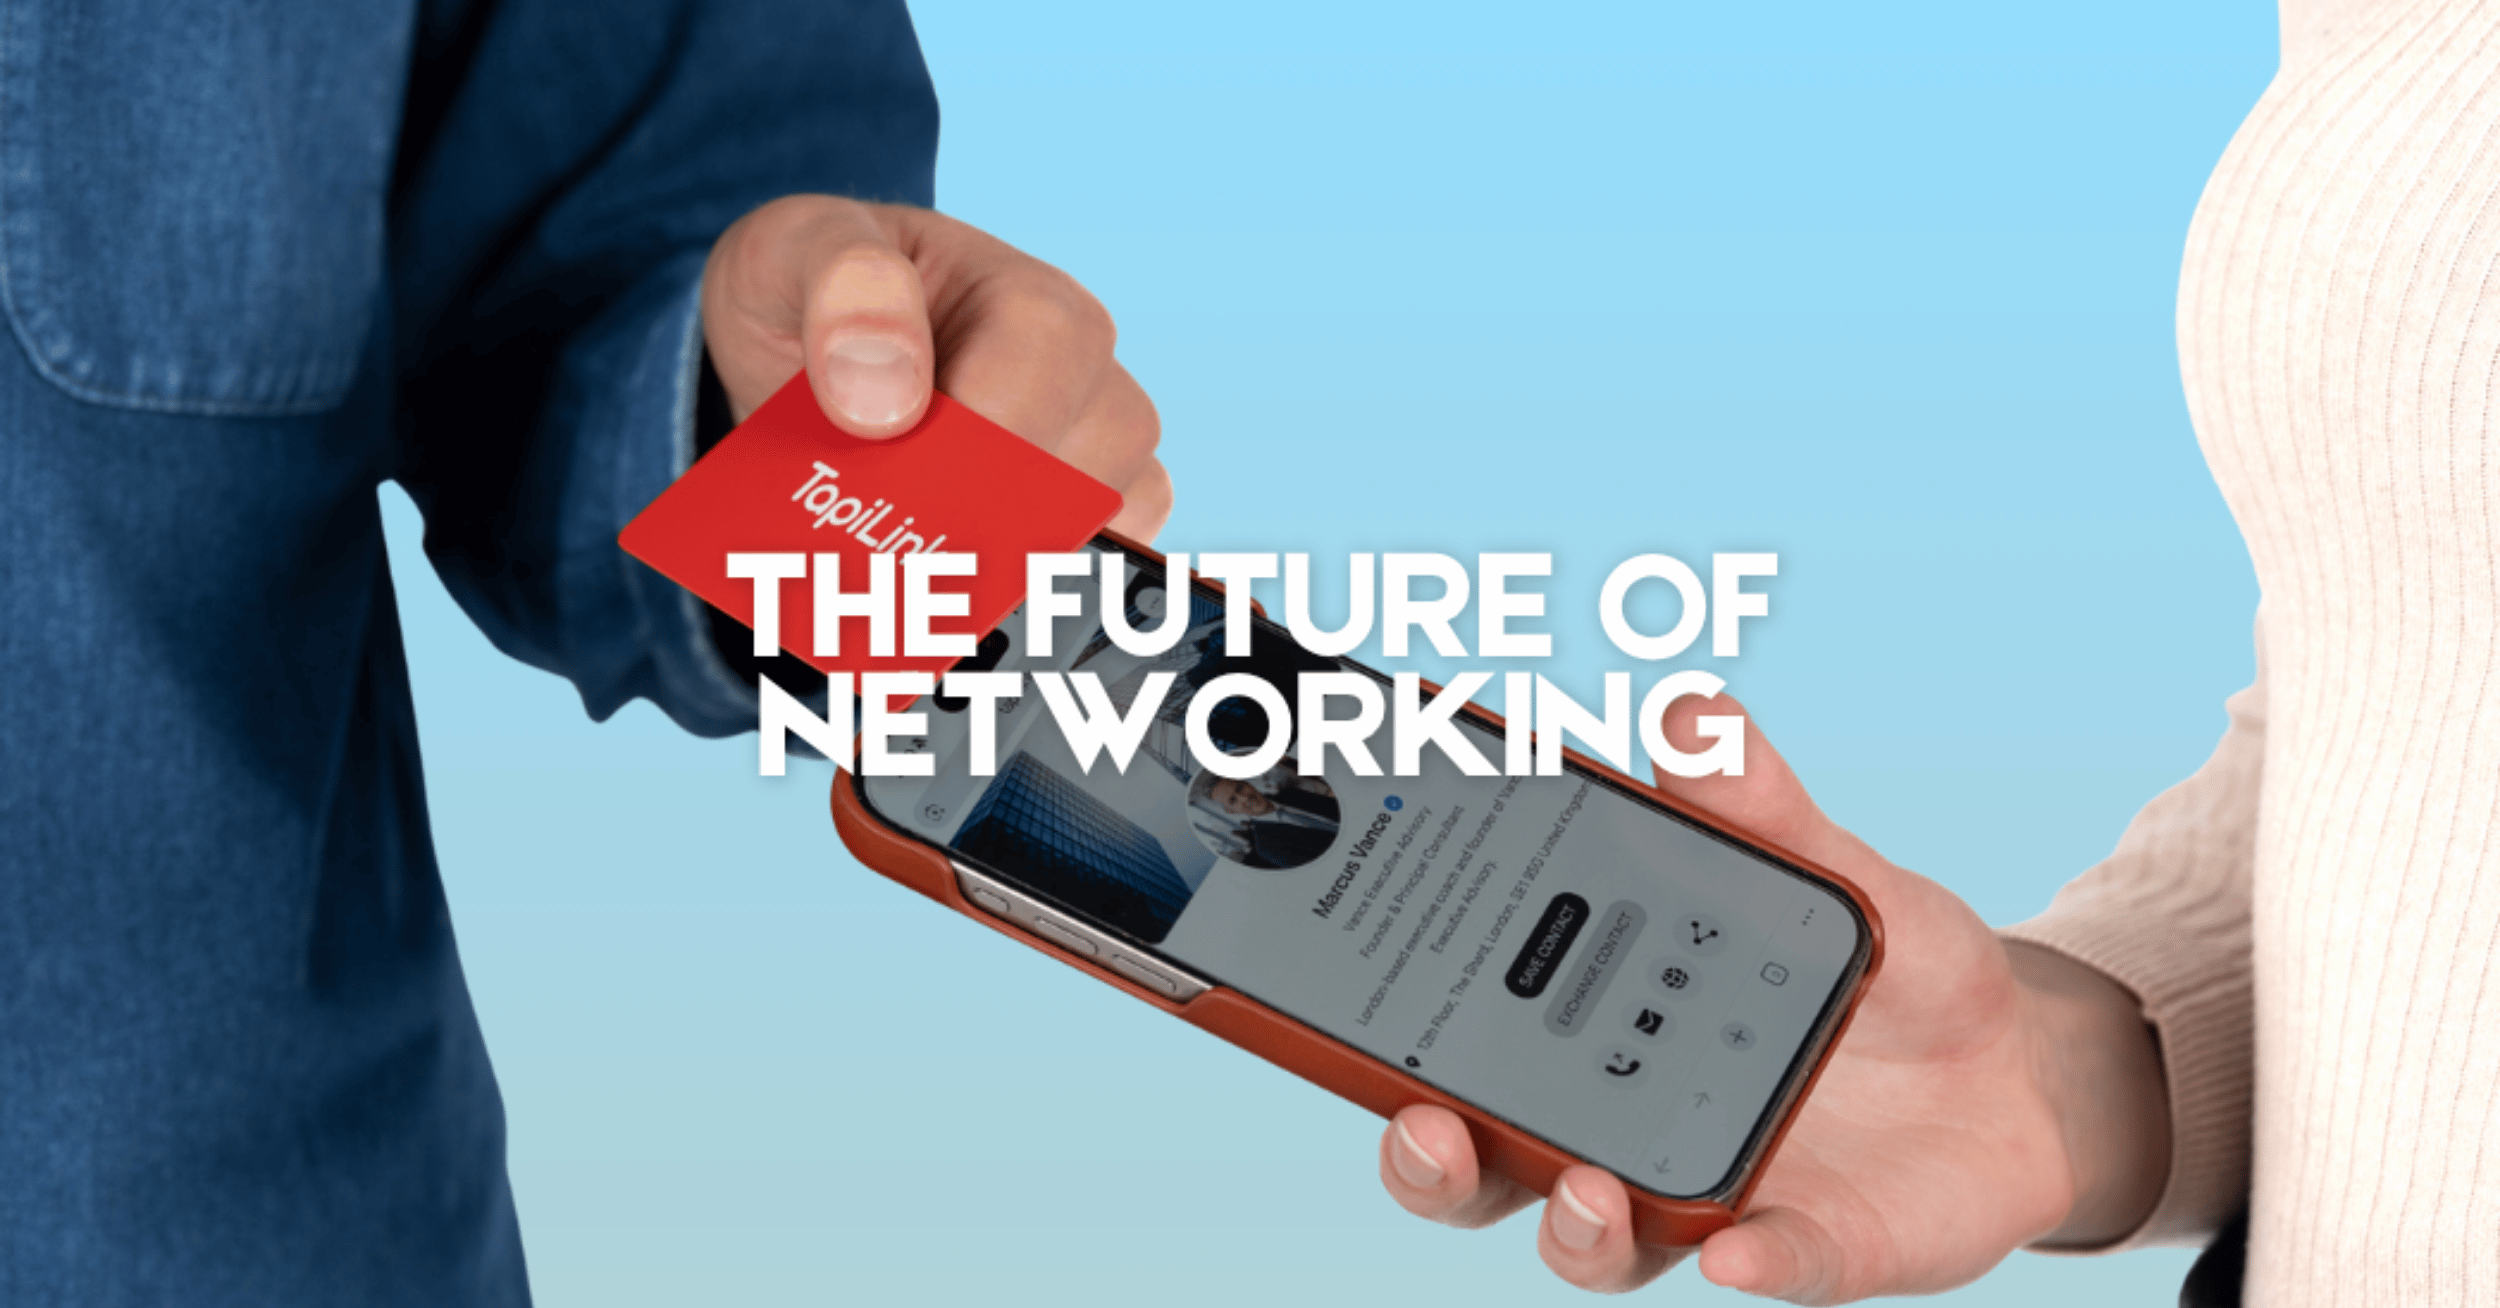
When your card is built, use Preview Profile from the Quick Actions to see exactly what others will see, then share it. You can share by tap, QR code, wallet or link, and the person receiving it does not need any app to view it.
Previewing first is a good habit, because it lets you catch anything you want to adjust before you start sharing. Once you are happy, your card is ready for any situation, in person or online. For every way to share and when to use each, see our guide on how to share your TapiLink card.
Keeping your card up to date
One of the biggest benefits of a digital card is that it is never finished in a limiting way: you can edit any section at any time, and the changes appear instantly wherever your card is shared. There are no reprints and no out-of-date details.
At TapiLink, we built the card maker so your card grows with you, from a simple contact profile to a full showcase of your brand. When you are ready to build yours, you can create your card in the app and start sharing it the same day. If you would like a physical tap-to-share option too, our NFC Business Cards work hand in hand with the card you have just made.
FAQ
How do I create a digital business card in the TapiLink app?
Answer: Open Setup Profile, choose your appearance, then add your general info such as your name, role and contact details. Add your logo, social links, review links, custom links and photos to complete the card. Once built, you can share it by tap, QR code, wallet or link.
What can I put on my digital business card?
Answer: You can add your logo, colours, fonts, contact information, social media links, review links, custom links, images, videos, brochures, websites and payment links. This lets your card do far more than share a name and number.
Do I need design skills to make a card?
Answer: No. The app guides you through each section, and you choose a profile style in the Appearance settings. You simply fill in your details and links, and the card is built for you.
Can I edit my card after creating it?
Answer: Yes. Every section stays editable, so you can update your details, links, photos or look at any time. The changes appear instantly wherever your card is shared, with no reprints.
How do I share the card once it is made?
Answer: Use Preview Profile to check it, then share by tap, QR code, wallet or link. The person receiving your card does not need any app to view it.
Ready to revolutionize your networking approach? Explore TapiLink's range of premium NFC business cards and join the thousands of professionals who've already made the smart choice.