Setting up the TapiLink app takes a few minutes: download the app and create your account, complete your profile in the Setup Profile menu, then share your first card or add it to your wallet. Once your profile is live, you can start capturing leads straight away. The whole process is guided, so you do not need any technical know-how to get going.
At TapiLink, we designed onboarding to get you from download to a shareable digital business card as quickly as possible. This guide walks through each step in order, following the exact screens in the app, so you can follow along on your phone. If you want the bigger picture of everything the app does first, our overview of the TapiLink app covers it, otherwise let us get you set up.
Step 1: Download the app and create your account
Start by downloading the TapiLink app to your phone and creating your account. [VERIFY: confirm which app stores the app is available on, for example the App Store and Google Play, and the exact sign-up options before publishing.]
Once you are in, the app opens on your Home screen, where you will see your Digital Profile along with quick stats for taps, leads and profile views. This is your dashboard, and it is where you will return to share your card, preview your profile and check your activity. With the account created, the next job is to build out your profile.
Step 2: Open Setup Profile
From the Home screen, tap Setup Profile in the Quick Actions row to begin building your card. This opens the Setup Profile menu, which is where all of your card's content lives.
Inside, you will find each part of your profile as its own section: Appearance, General Info, Social Links, Review Links, Custom Links, Photos, the TapiLink Footer and WiFi Porter. You can work through them in order, and you do not have to complete everything at once. The app also shows a Complete Your Profile progress bar in your account area, so you can see how far along you are and what is left to do.
Step 3: Choose your appearance
Open Appearance to select your profile style. This sets the look of your digital business card, so it matches your personal or company brand.
Getting the appearance right early is worth doing, because it frames everything else you add. Choose the style that best fits how you want to present yourself, and you can always come back and adjust it later.
Step 4: Add your general info
Next, open General Info to add your core details. This is the essential contact information that people receive when they view or save your card.
Take a moment to make sure your name, role and contact details are correct and up to date, since this is the information most people will act on. Because your card is digital, you can edit any of this at any time, so it never goes out of date the way a printed card would.
Step 5: Add your social and review links
Open Social Links to connect your social media profiles, then open Review Links to add or manage the places you want people to leave reviews. Both appear on your profile so a single tap or scan can send someone to the right place.
Review Links are especially useful if collecting reviews matters to your business, because they turn your card into a prompt for feedback. If growing your Google reviews is a priority, our NFC Review Cards work alongside this to make asking for reviews effortless in person.
Step 6: Add custom links and photos
Open Custom Links to add or manage any other links you want on your profile, such as your website, a booking page, a portfolio or a payment link. Then open Photos to add or manage images that showcase your work or brand.
These sections are where you make the profile truly yours. Custom links let your card do more than share contact details, guiding people to whatever action matters most to you, while photos add a visual dimension that a paper card never could.
Step 7: Set up WiFi Porter (optional)
If you want to share WiFi with visitors, open WiFi Porter and set it up. This lets guests connect to your network with a tap, which is handy for cafes, salons, offices and anywhere you host people.
This step is optional and only relevant if sharing WiFi is useful for you. For venues that want a dedicated tap-to-connect point, our WiFi Porter product extends the same idea beyond the app.
Step 8: Share your card or add it to your wallet
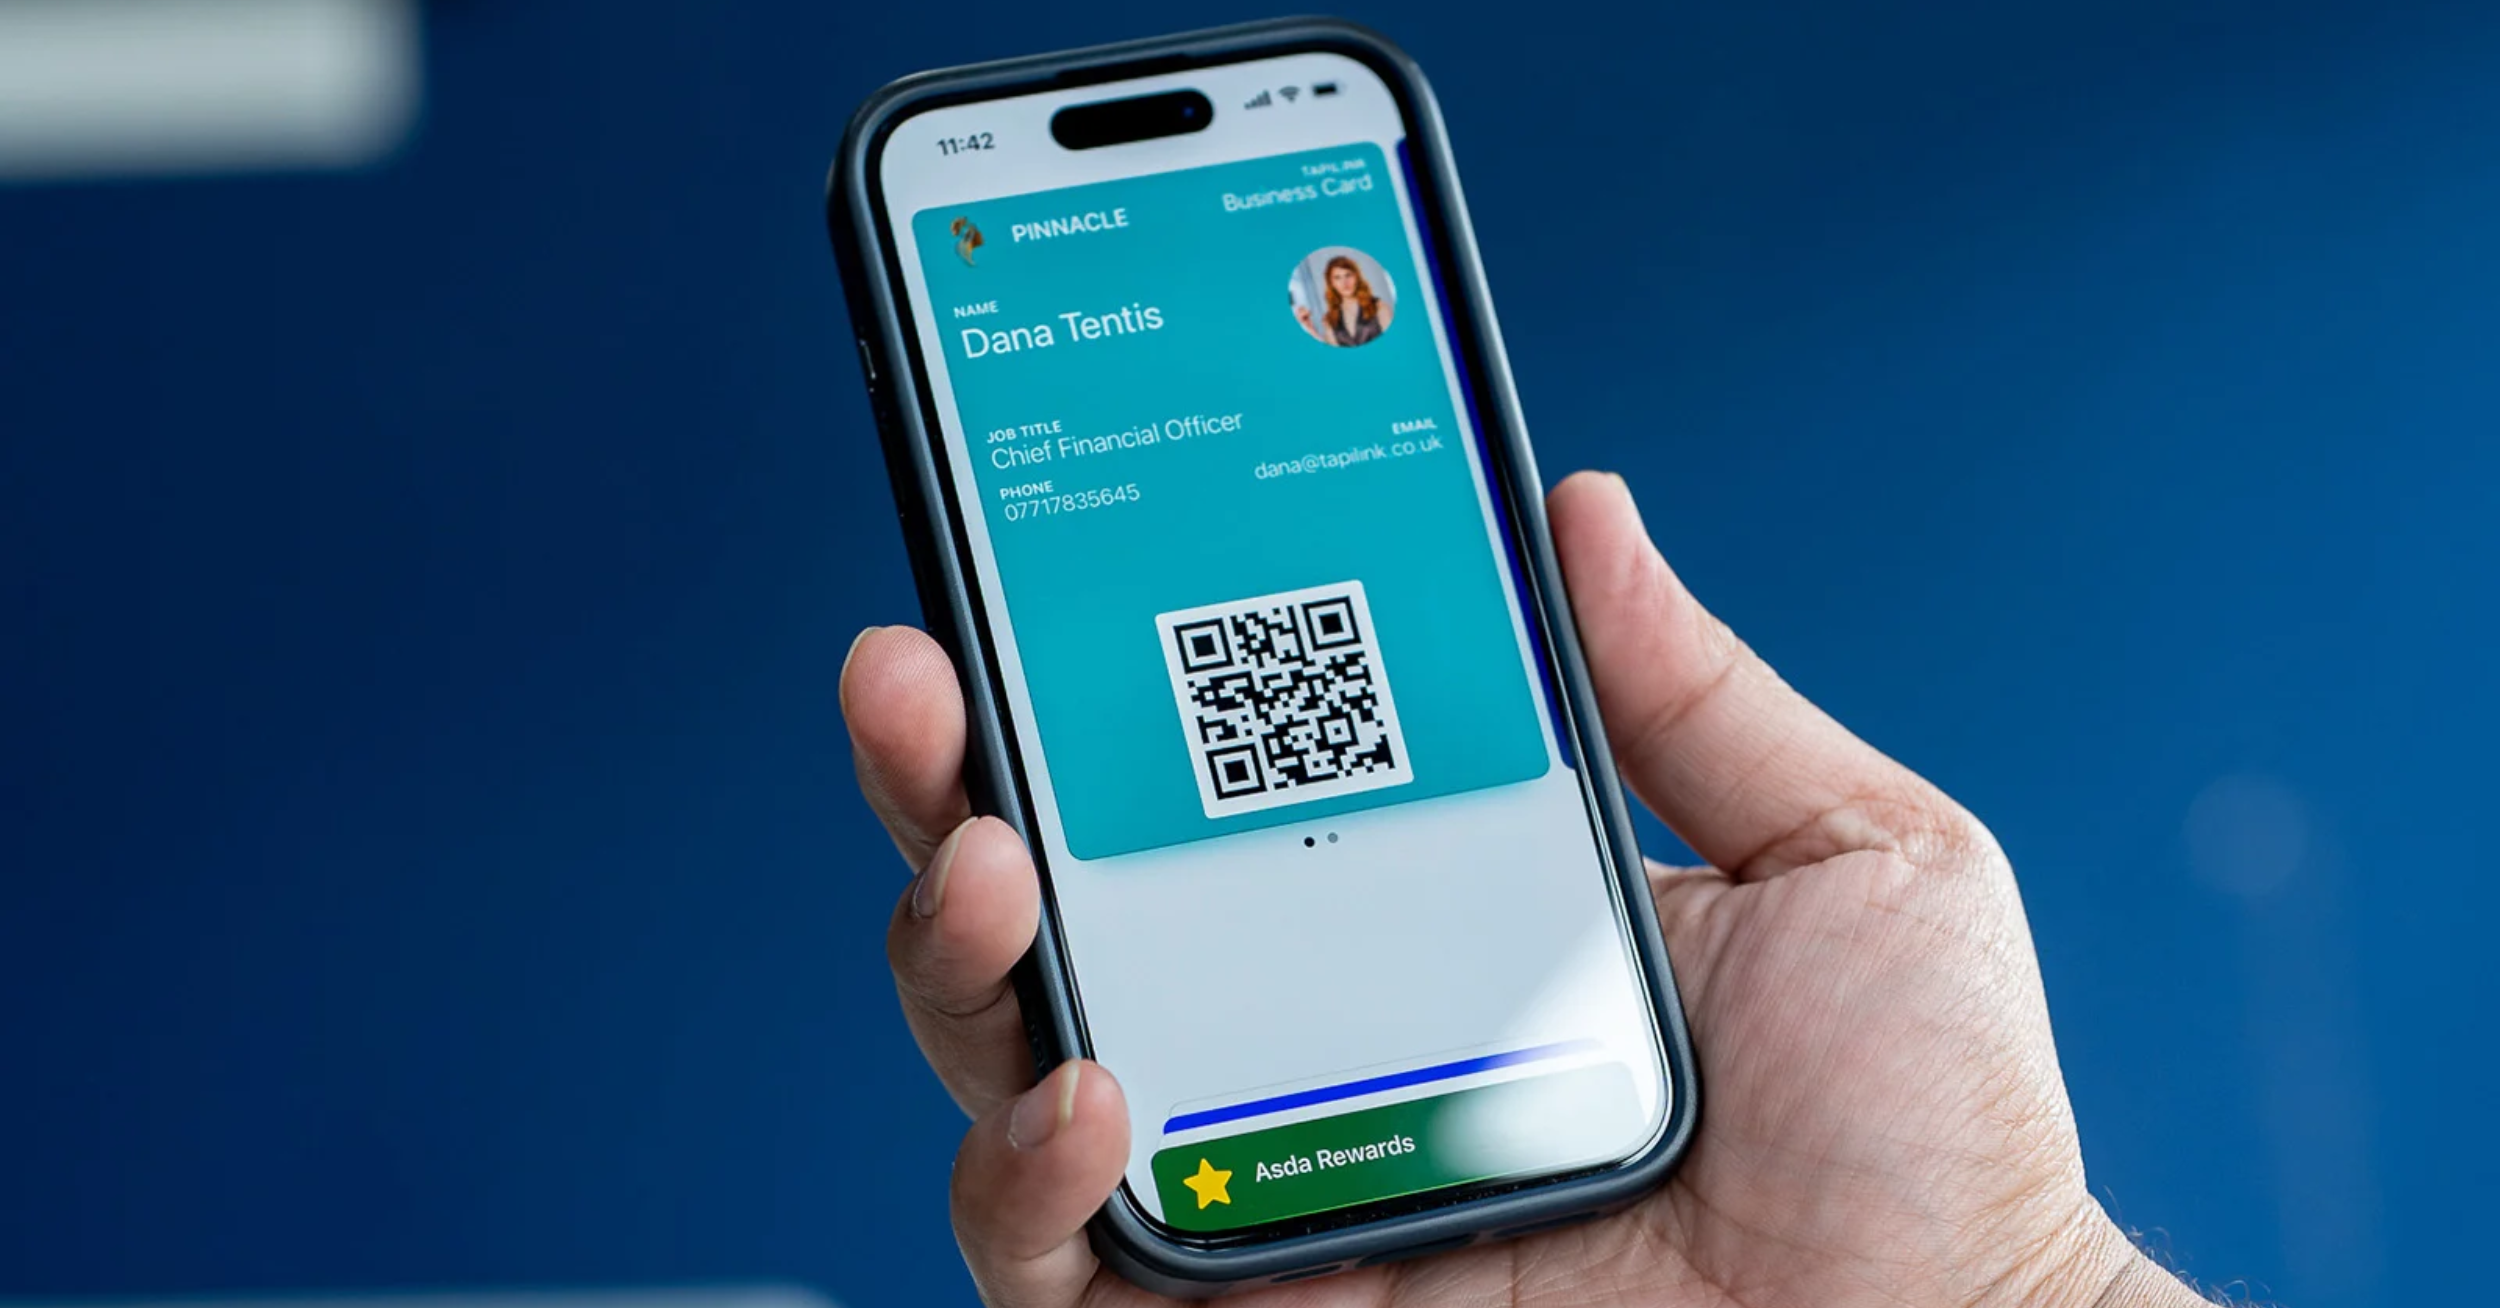
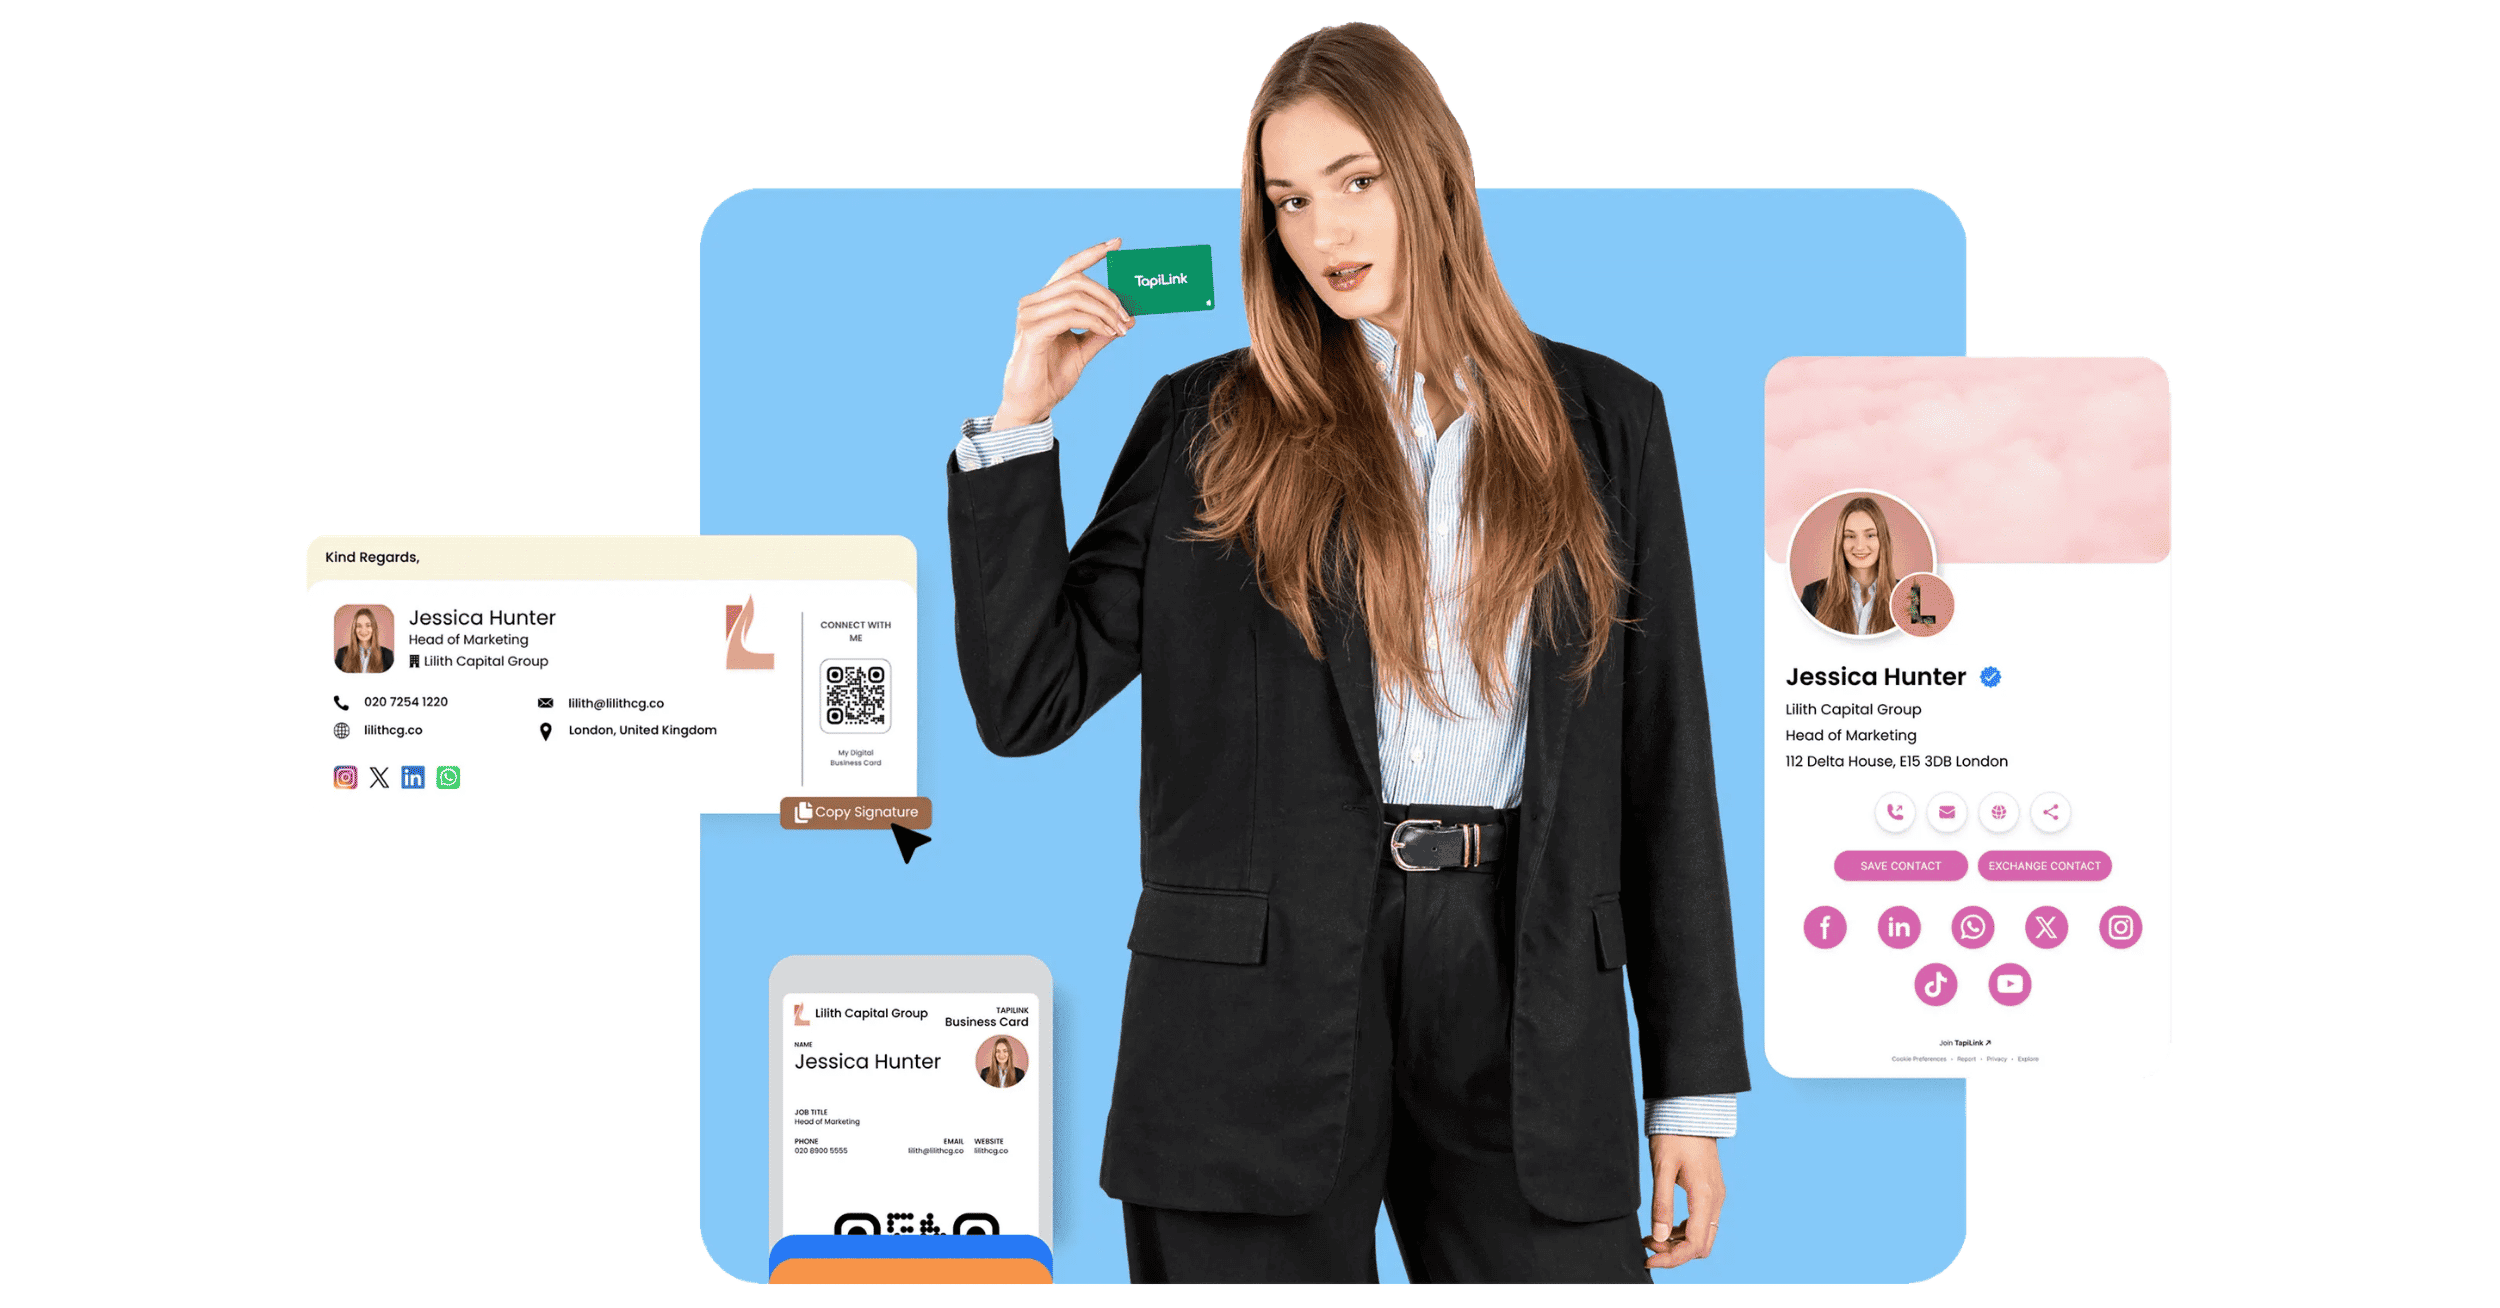
With your profile built, return to the Home screen and tap Share Card to share your digital business card, or Add to Google Wallet to keep it in your wallet for quick access. Your card can be shared by tap, QR code, wallet or link, and the person receiving it does not need any app to view it.
This is the moment your setup pays off, because you can now share your details instantly in any situation. For every method available and when to use each, see our guide on how to share your TapiLink card.
Step 9: Start scanning and capturing leads
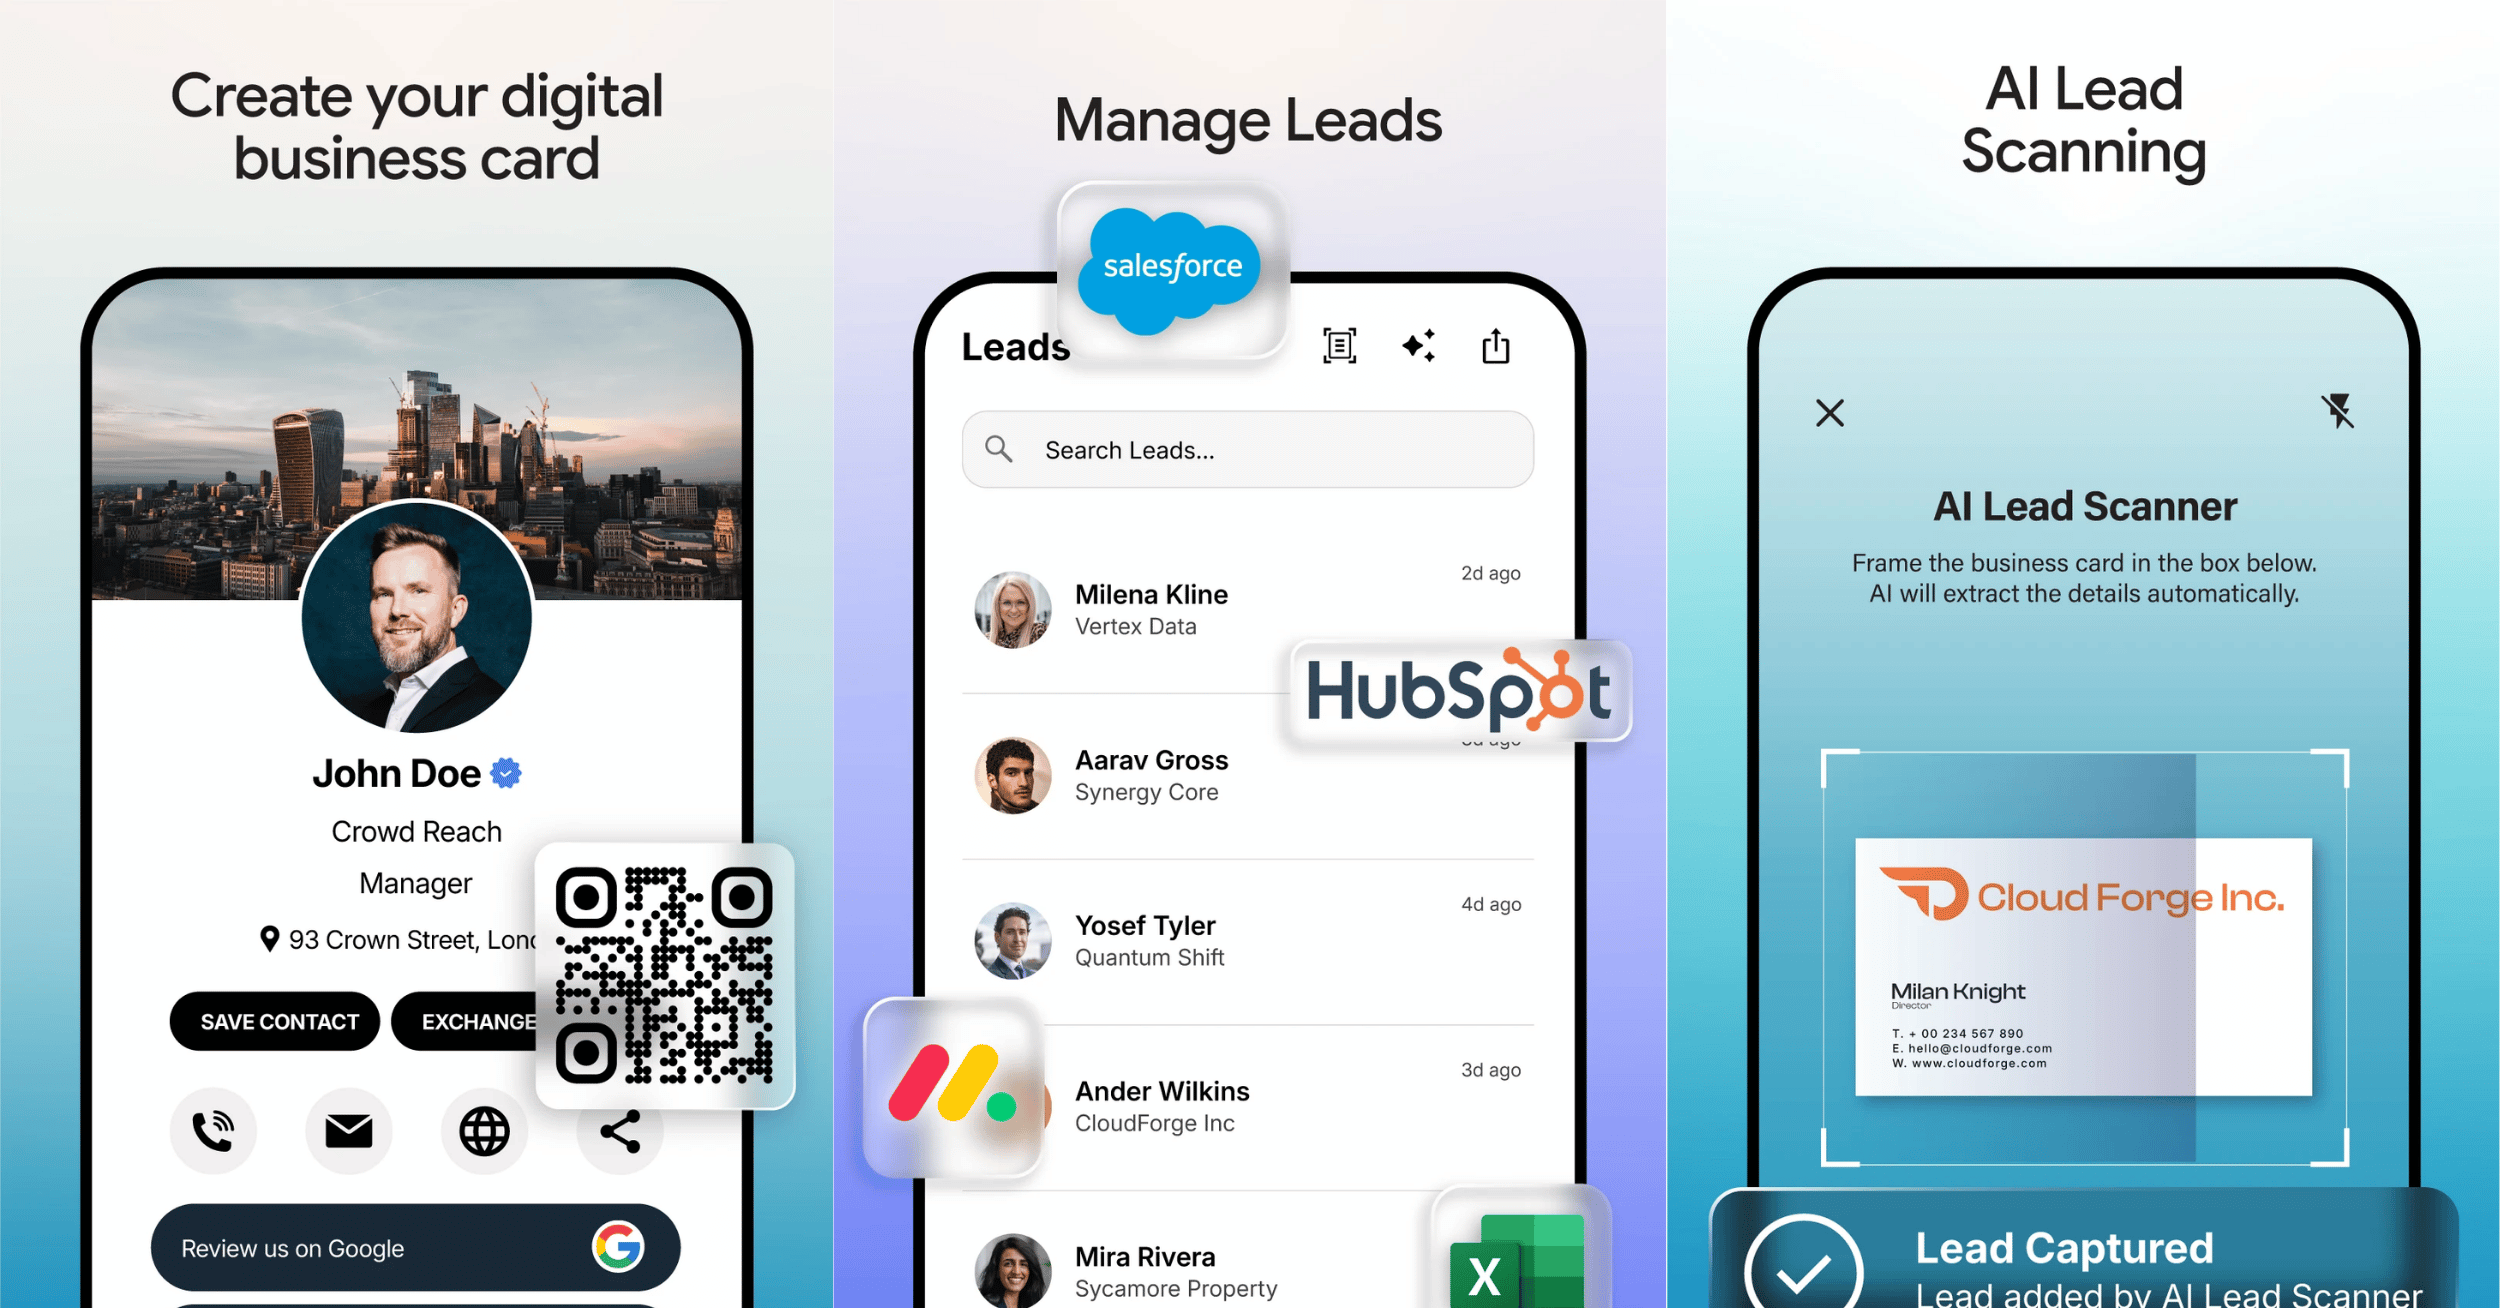
Finally, use Scan Lead from the Quick Actions row, or the Scan tab at the bottom, to start capturing the people you meet. The app's AI lead scanner captures a contact's details from a business card in seconds, and scanned leads are saved for you to manage and follow up.
This turns setup into results, because now you are not just sharing your card, you are collecting leads too. You can learn how the capture works in the AI lead scanner guide, and how to organise what you collect in how to manage your leads in the app.
Finishing your setup
That is the full setup: download and sign in, build your profile through the Setup Profile menu, then share your card and start scanning leads. You can revisit any section at any time, and the Complete Your Profile progress bar helps you tie up anything you skipped.
At TapiLink, we built this flow so you can be up and running in minutes and networking the same day. If you have not started yet, you can get going by choosing to download the TapiLink app and following the steps above.
FAQ
Q1. How long does it take to set up the TapiLink app?
Answer: Setting up takes only a few minutes. You download the app, create your account, complete your profile in the Setup Profile menu, then share your card. You can revisit any section later, so you do not have to finish everything at once.
Q2. Do I have to complete my whole profile before sharing my card?
Answer: No. You can share your card as soon as your basic details are in, and finish the rest later. The Complete Your Profile progress bar shows how far along you are and what is still to add.
Q3. What can I add to my TapiLink profile?
Answer: You can set your appearance, add general contact info, social links, review links and custom links, upload photos, and set up WiFi Porter. Custom links can point to a website, booking page, portfolio or payment link.
Q4. Do people need an app to view my card once it is set up?
Answer: No. The person you share with does not need any app. Your card opens on their phone directly when you share it by tap, QR code, wallet or link.
Q5. Can I capture leads straight after setting up?
Answer: Yes. Once your profile is set up, you can use Scan Lead to capture contacts with the AI lead scanner, and those leads are saved in the app for you to manage and follow up.
Ready to revolutionize your networking approach? Explore TapiLink's range of premium NFC business cards and join the thousands of professionals who've already made the smart choice.